How to use the printed tape
- Print at 100%. Turn off “Fit to page”. Use plain paper; card is sturdier if your printer takes it.
- Check the scale. Hold a ruler against the check line: 10 cm or 4 inches exactly. A few millimeters off over 10 cm adds up to about an inch around your underbust, enough to change the band, so reprint if it’s off.
- Cut and join. Cut each strip along its outline. Lay them end to end in order, so each strip’s ▸ number meets the end of the one before, and tape the joins on the back.
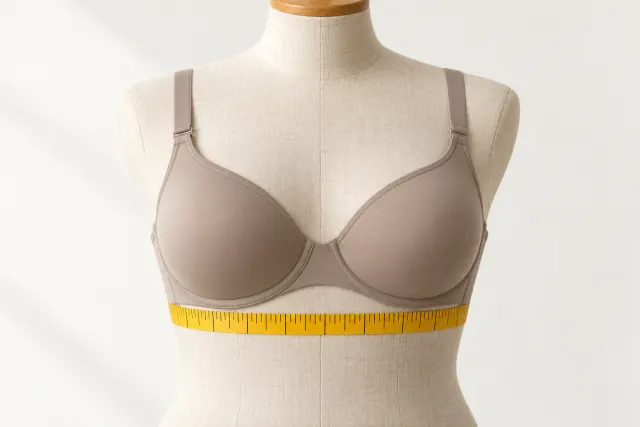
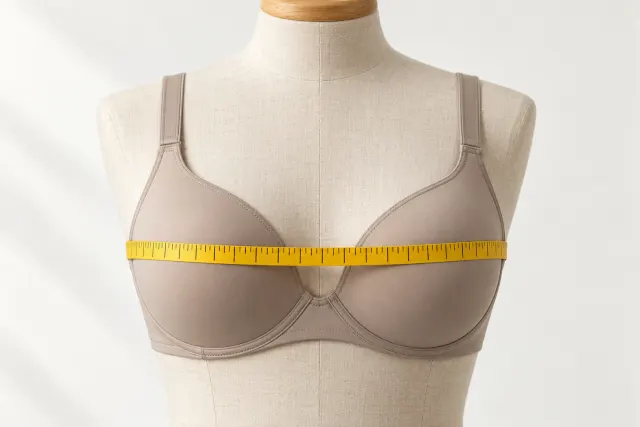
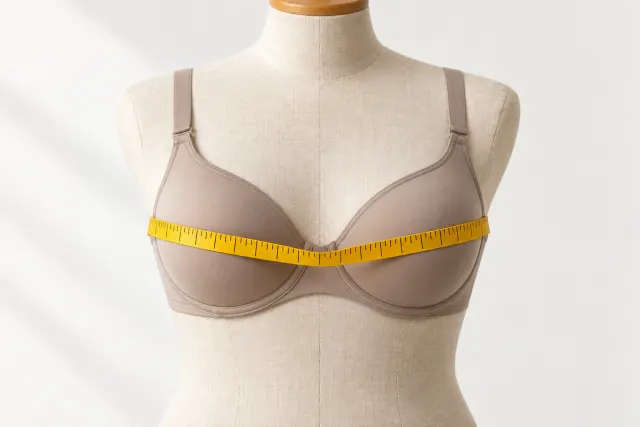
- Measure. Wrap it snug under your bust for the band, then loosely around the fullest part for the cup. Keep it level all the way round; a mirror helps.
- Get your size. Put both numbers into the bra size calculator. It works in centimeters or inches and gives your size in US, UK, AU, EU and FR sizing.
Enter your numbers in the calculator
No printer? Measure with string
Any piece of non-stretchy string, ribbon or a phone charger cable works. Wrap it where the tape would go, pinch the point where it meets, and lay it flat along a ruler or a piece of letter paper (US Letter is 11 inches long; A4 is 29.7 cm). Measure twice; the two readings should agree within half an inch.
| Measurement | Where | How tight | Used for |
|---|---|---|---|
| Underbust | Just under the bust, around the ribcage | Snug, breathe out | Band size |
| Standing bust | Fullest part, standing straight | Loose, no squeezing | Cup size |
| Leaning bust (optional) | Fullest part, bent forward at 90° | Loose | Cup size if softer or fuller at the bottom |
The full method, with pictures and the reasons behind each step, is in how to measure bra size. If the band you get looks small, that’s normal: the band comes from the snug underbust with nothing added, and a firmer band does most of the support. Sister sizes explain why the cup letter rises when the band drops.